Scanner Use and Connecting Method with Printer
The printer is a commonly used printing device in life. It is mainly used to connect to a computer and print files on the computer to facilitate office work. For those who use the printer for the first time, they may not be familiar with how to use it, such as how to use the scanner on the printer? How to add a printer scanner? Let's introduce it to everyone.
How to use the scanner on the printer
1. Open the cover on the printer scanner. Place the side of the document you want to scan with the text side down, place it appropriately according to the size of the paper on the scanner, and close the cover.
2. Operate on the printer panel and click the "Scan" option. Here you can select the horizontal and vertical scanning methods. You can choose according to your actual situation. If you are unfamiliar, you can use the default settings and select the scanning path.
Click the "Start" button, and you can scan at this time.
3. If it is a scanner that supports continuous scanning of multiple pages, it can be placed flat on the scanning paper feed port, and then follow the steps 2-3 above to scan and save the file.
How to add a printer scanner
Scanning is generally only available for printers with three-in-one and four-in-one and copiers with printing functions. You need to use the installation CD of the machine and install the included software completely in your computer to use the scanning function. To use the scan function, one way is to use the scanning software installed on the machine and follow the prompts to scan. Another method is to open PHOTOSHOP software. In "File"-"Import", you can find the scanner, and turn on the scanning function.
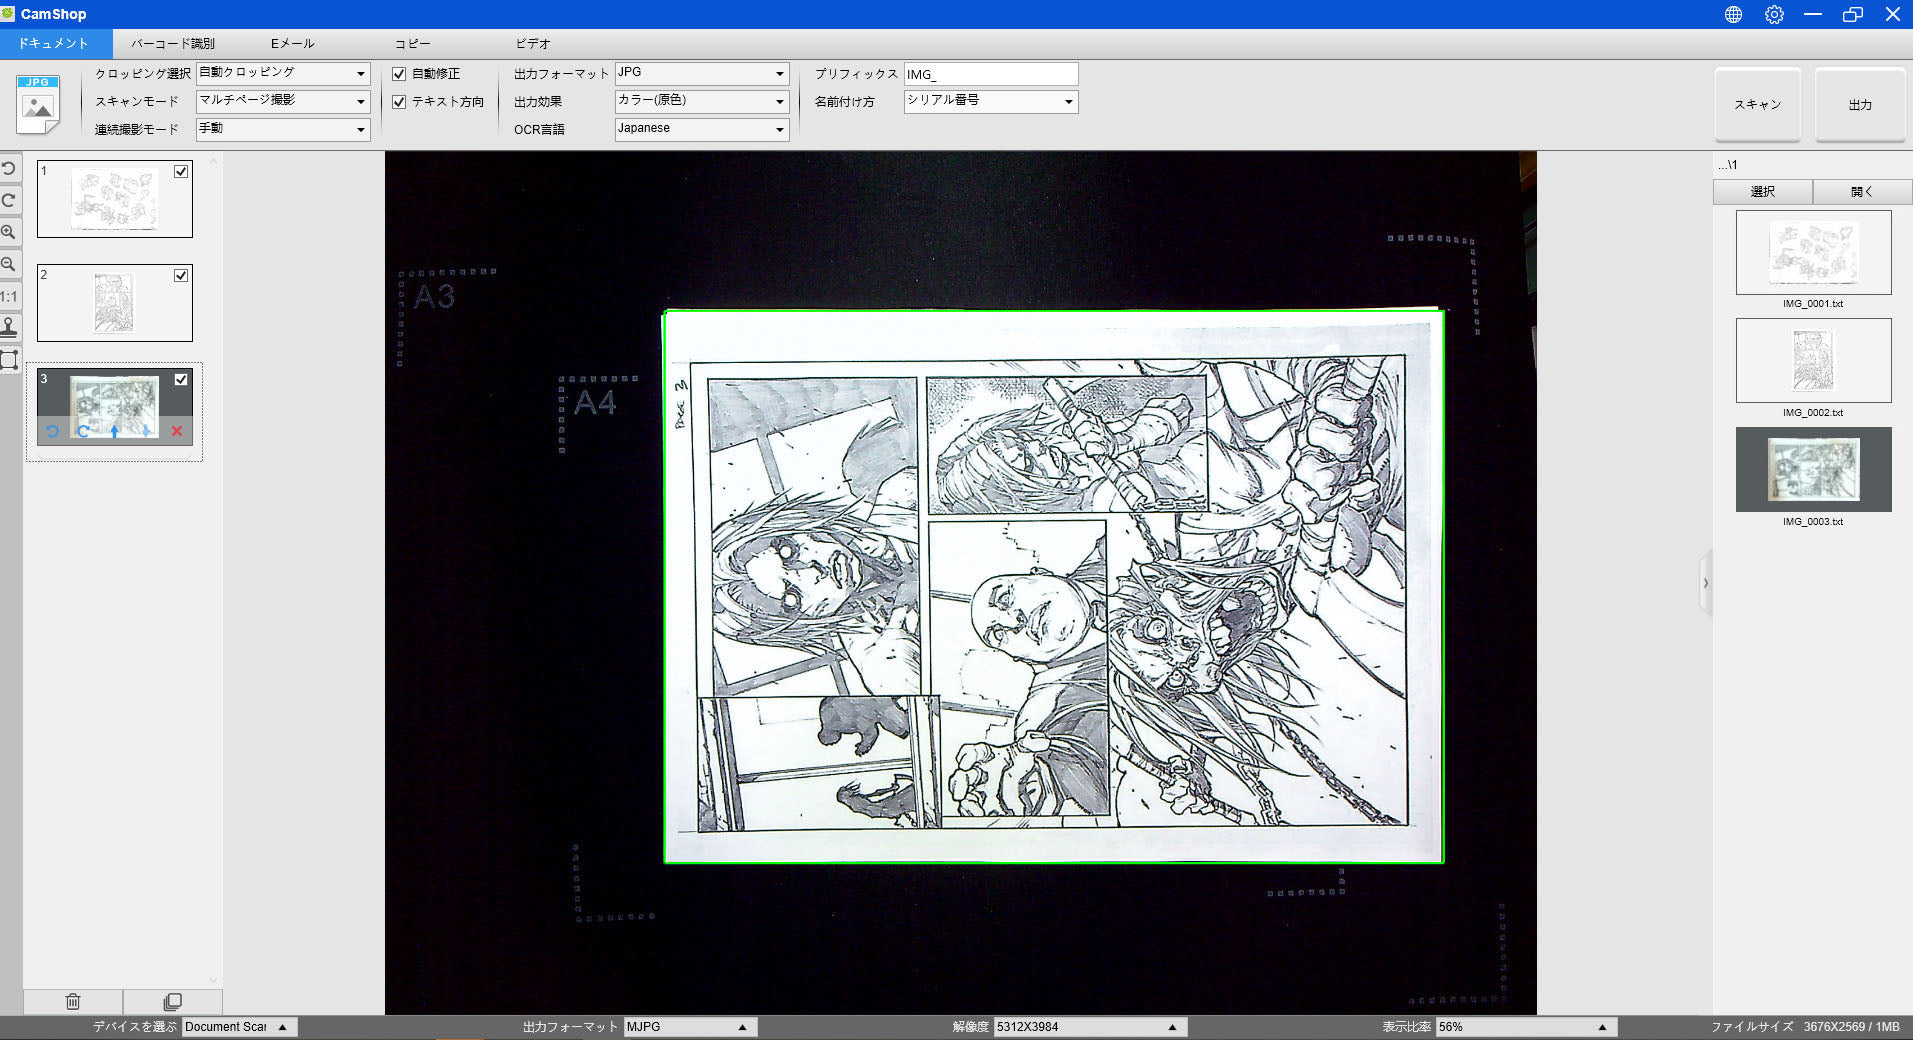
Scanning results for X3 document scanner